

How to repair a damaged iron nesting table?
Aug 20, 2025
Repairing a damaged iron nesting table can seem like a daunting task, but with the right knowledge and tools, it can be a manageable DIY project. As a supplier of Iron Nesting Tables, I've encountered various types of damage to these elegant pieces of furniture. In this blog, I'll guide you through the step-by-step process of repairing a damaged iron nesting table, ensuring it regains its former glory.
Step 1: Assess the Damage
The first step in any repair process is to thoroughly assess the damage to your iron nesting table. This will help you determine the appropriate repair method and the materials you'll need. Common types of damage to iron nesting tables include:
- Rust: Rust is a common problem with iron furniture, especially if it has been exposed to moisture. Rust can weaken the metal and cause it to flake off, leaving unsightly marks on the table.
- Dents and Dings: Dents and dings can occur from accidental impacts or rough handling. These can affect the appearance of the table and may also compromise its structural integrity.
- Loose Joints: Over time, the joints in an iron nesting table may become loose, causing the table to wobble or feel unstable. This can be due to normal wear and tear or improper assembly.
- Paint Damage: The paint on an iron nesting table can chip, peel, or fade over time, especially if it has been exposed to sunlight or harsh chemicals. This can make the table look old and worn.
Once you've identified the type and extent of the damage, you can move on to the next step.
Step 2: Gather the Necessary Tools and Materials
Before you start the repair process, you'll need to gather the necessary tools and materials. Here's a list of items you may need:
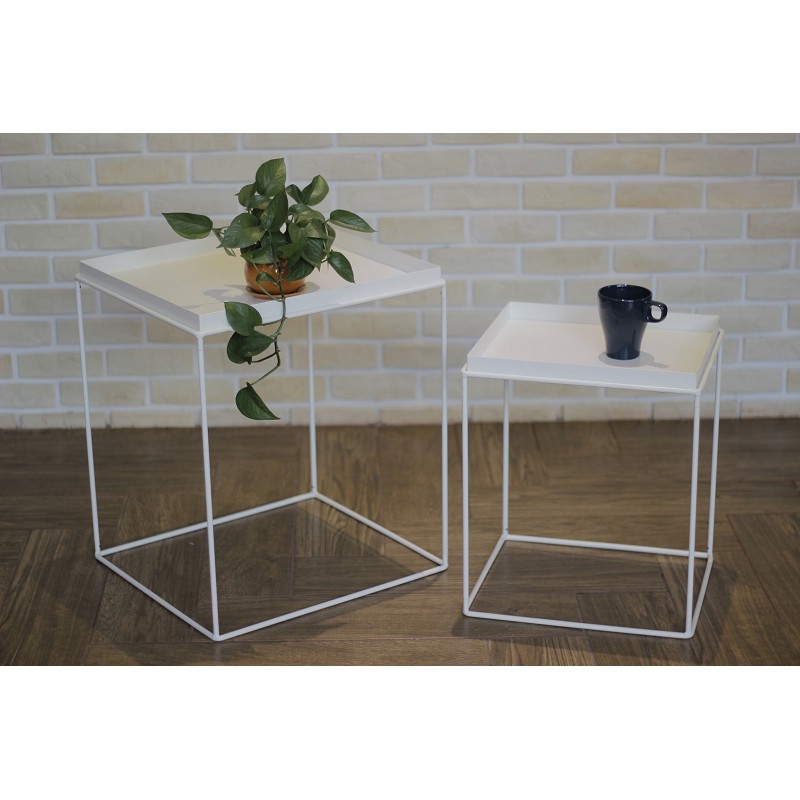
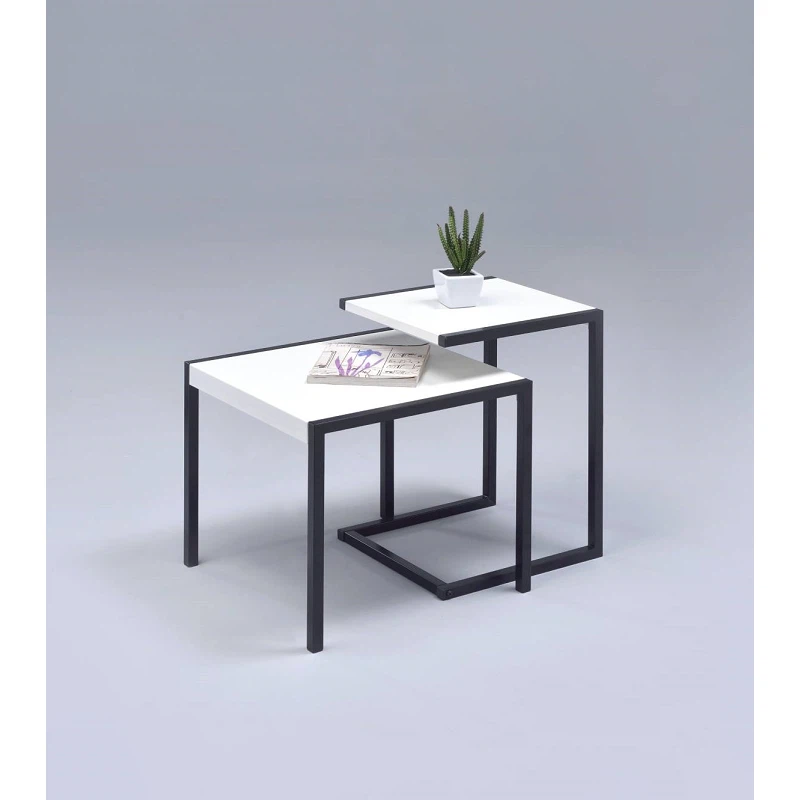
- Safety Gear: Wear safety glasses, gloves, and a dust mask to protect yourself from rust particles, paint chips, and other debris.
- Cleaning Supplies: You'll need a wire brush, sandpaper, a degreaser, and a clean cloth to clean the table and remove any rust, dirt, or grime.
- Repair Materials: Depending on the type of damage, you may need welding equipment, epoxy resin, metal filler, or replacement parts such as screws, bolts, or hinges.
- Painting Supplies: If you need to repaint the table, you'll need primer, paint, a paintbrush, and a spray gun.
Make sure you have all the necessary tools and materials before you start the repair process to avoid any delays.
Step 3: Clean the Table
The next step is to clean the table to remove any rust, dirt, or grime. This will help the repair materials adhere better and ensure a smooth finish. Here's how to clean an iron nesting table:
- Remove Loose Debris: Use a wire brush to remove any loose rust, paint chips, or dirt from the surface of the table. Be sure to brush in the direction of the grain to avoid scratching the metal.
- Sand the Surface: Use sandpaper to sand the surface of the table to remove any remaining rust or paint. Start with a coarse-grit sandpaper and gradually work your way up to a fine-grit sandpaper for a smooth finish.
- Degrease the Table: Use a degreaser to clean the table and remove any oil, grease, or other contaminants. Apply the degreaser to a clean cloth and wipe the table down thoroughly.
- Rinse and Dry: Rinse the table with water and dry it with a clean cloth. Make sure the table is completely dry before you proceed to the next step.
Step 4: Repair the Damage
Once the table is clean, you can start repairing the damage. Here's how to repair some common types of damage to an iron nesting table:
- Rust Repair: If the table has rust, you can use a rust converter to convert the rust into a stable compound that can be painted over. Apply the rust converter to the rusted areas with a brush or spray gun and let it dry according to the manufacturer's instructions. Once the rust converter is dry, you can sand the area and apply a primer and paint.
- Dent and Ding Repair: If the table has dents or dings, you can use a metal filler to fill in the damaged areas. Apply the metal filler to the dented or dinged area with a putty knife and smooth it out. Let the filler dry according to the manufacturer's instructions and then sand it down to a smooth finish.
- Loose Joint Repair: If the joints in the table are loose, you can use epoxy resin or welding to repair them. Apply the epoxy resin to the joint and clamp it together until the resin dries. If you're using welding equipment, make sure you have the necessary skills and experience to do so safely.
- Paint Damage Repair: If the paint on the table is chipped, peeled, or faded, you can sand the area and apply a primer and paint. Make sure the primer and paint are compatible with the type of metal and the existing paint on the table. Apply the primer and let it dry according to the manufacturer's instructions. Then, apply the paint in thin, even coats, allowing each coat to dry before applying the next one.
Step 5: Finish the Table
Once the repairs are complete, you can finish the table to protect it from future damage and give it a professional look. Here's how to finish an iron nesting table:
- Apply a Clear Coat: Apply a clear coat of paint or varnish to the table to protect it from rust, scratches, and other damage. Make sure the clear coat is compatible with the type of paint and metal on the table. Apply the clear coat in thin, even coats, allowing each coat to dry before applying the next one.
- Buff the Table: Once the clear coat is dry, you can buff the table with a soft cloth to give it a shiny finish. This will also help to remove any fingerprints or smudges.
- Reassemble the Table: If you had to disassemble the table to make the repairs, you can now reassemble it. Make sure all the screws, bolts, and hinges are tightened securely.
Step 6: Maintain the Table
To keep your iron nesting table looking its best and prevent future damage, it's important to maintain it properly. Here are some tips for maintaining an iron nesting table:
- Clean the Table Regularly: Wipe the table down with a clean cloth and a mild detergent to remove any dirt, dust, or spills. Avoid using abrasive cleaners or scrubbers, as these can scratch the metal.
- Protect the Table from Moisture: Keep the table away from water and moisture, as this can cause rust and other damage. If the table gets wet, dry it immediately with a clean cloth.
- Avoid Scratching the Table: Use coasters, placemats, and tablecloths to protect the table from scratches and other damage. Avoid placing hot or sharp objects directly on the table.
- Store the Table Properly: If you need to store the table for an extended period of time, make sure it's clean and dry before you store it. Wrap the table in a protective cover or place it in a storage container to prevent it from getting damaged.
Conclusion
Repairing a damaged iron nesting table is a rewarding DIY project that can save you money and give your table a new lease on life. By following the steps outlined in this blog, you can repair the damage to your table and restore it to its former glory. If you have any questions or need further assistance, please don't hesitate to contact us. As a supplier of Iron Nesting Tables, we're here to help you with all your furniture needs. Whether you're looking for a new Metal and Wood Nesting Tables or need to repair an existing Exquisite Nesting Coffee Table, we have the expertise and products to meet your needs. Contact us today to learn more about our products and services and to discuss your furniture requirements.
References
- "How to Repair Rust on Metal Furniture." Family Handyman, https://www.familyhandyman.com/project/how-to-repair-rust-on-metal-furniture/.
- "How to Fix a Wobbly Table." This Old House, https://www.thisoldhouse.com/tools/21017934/how-to-fix-a-wobbly-table.
- "How to Paint Metal Furniture." Bob Vila, https://www.bobvila.com/articles/how-to-paint-metal-furniture/.